Skip to content
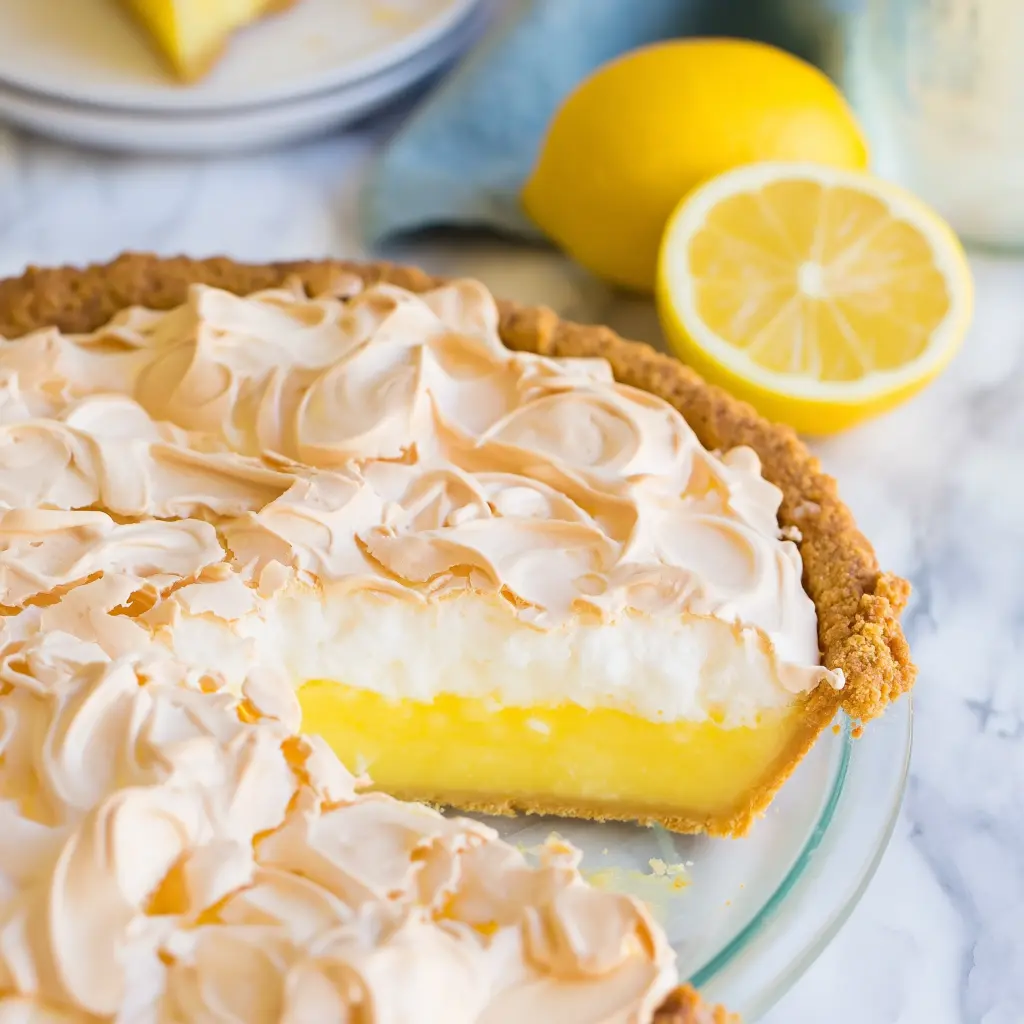
Aunt Tootsie’s Lemon Meringue Pie Recipe is the kind of dessert name that already tells you there is a story behind it. It sounds like a pie passed around the family table, made for holidays, made for company, and made often enough that people start asking for it by name. This recipe keeps that classic feel intact with a bright homemade lemon filling, a fluffy meringue topping, and a fully baked crust underneath to hold everything together.
Lemon meringue pie is one of those desserts that asks for a little care, but the payoff is big. The filling is sweet and sharply citrusy at the same time, the meringue is light and glossy, and the contrast between the two is what makes each slice so memorable. Here, the process is broken into clear stages, which makes the pie feel much more approachable. You partially blind bake the crust, cook the filling until thick and bubbly, temper the yolks so the filling stays smooth, then crown it all with meringue and bake until browned.
The result is a pie that looks celebration-ready but still feels within reach for a home baker. If you love desserts with strong lemon flavour and that unmistakable cloud of meringue on top, this family favourite has all the right pieces.
Why this lemon meringue pie stands out
A very good lemon meringue pie is all about contrast. You want a filling that is bright, smooth, and strong enough in flavour to stand up to the sweetness of the meringue. You also want a crust that is baked enough to hold its structure, which is why the blind-baking step matters so much.
This recipe handles those details in a thoughtful way. The filling uses fresh lemon juice and lemon zest, which gives it a fuller citrus flavour than lemon juice alone. Cornstarch thickens the mixture so it can slice neatly once chilled, and butter softens the texture just enough to keep the filling from feeling harsh. Then the meringue brings lift and sweetness, with cream of tartar helping it hold shape and vanilla rounding out the flavour.
One of the smartest parts of the method is that the meringue goes over the hot filling and is spread so it touches the crust all the way around. That classic tip helps the topping sit properly on the pie and gives you a better finished look. When it all comes together, you get the kind of pie that has a crisp crust, glossy peaks, and a lemon layer that tastes lively rather than muted.
What goes into the pie
This recipe is split into two parts, which makes it easy to see what each layer needs.
For the filling: The pie starts with a pre-baked and cooled butter pie crust, then builds a lemon filling from water, sugar, cornstarch, fresh lemon juice, lemon zest, salt, egg yolks, and unsalted butter. Each ingredient matters. The sugar brings sweetness, the cornstarch creates thickness, the lemon juice and zest give the pie its bright character, and the yolks plus butter give it richness.
For the meringue: The topping is made from egg whites, cream of tartar, vanilla extract, and sugar. That is all you need for a classic meringue with soft volume that can be beaten into stiff, glossy peaks.
The recipe also offers flexibility with the crust, which is practical. If you already have a favourite all-butter pie crust, that fits beautifully. If you need a more convenient route, a pre-made crust is also listed as an option.
Making the pie layer by layer
Start by preheating the oven to 425°F and placing the crust in a 9-inch pie plate. The crust needs a partial blind bake first. Poke holes in the bottom with a fork, line it with parchment paper, and fill it with dried beans or pie weights. Bake for about 20 minutes if you are using the site pie crust recipe, or about 10 minutes if using a Pillsbury crust. Then remove the parchment and weights.
Once the crust is ready, lower the oven temperature to 300°F. That lower heat matters later when the topped pie goes back in the oven.
To make the filling, whisk together the water, sugar, cornstarch, salt, lemon juice, and lemon zest in a medium saucepan. Cook over medium-low heat, stirring often, until the mixture becomes thick and bubbly. This is the point where you can see the filling starting to become pie-ready rather than simply lemon syrup.
Now comes a step that sounds technical but is very manageable: tempering the eggs. Whisk the egg yolks in a medium bowl. Then pour about half of the hot lemon mixture into the yolks while whisking constantly. After that, return the egg mixture to the pan, bring it to a gentle boil, cook for 2 minutes, and remove from the heat. Stir in the butter until melted.
Strain the filling to remove any bits of cooked egg, then pour it into the prepared crust. Cover with plastic wrap while you make the meringue and keep the filling hot.
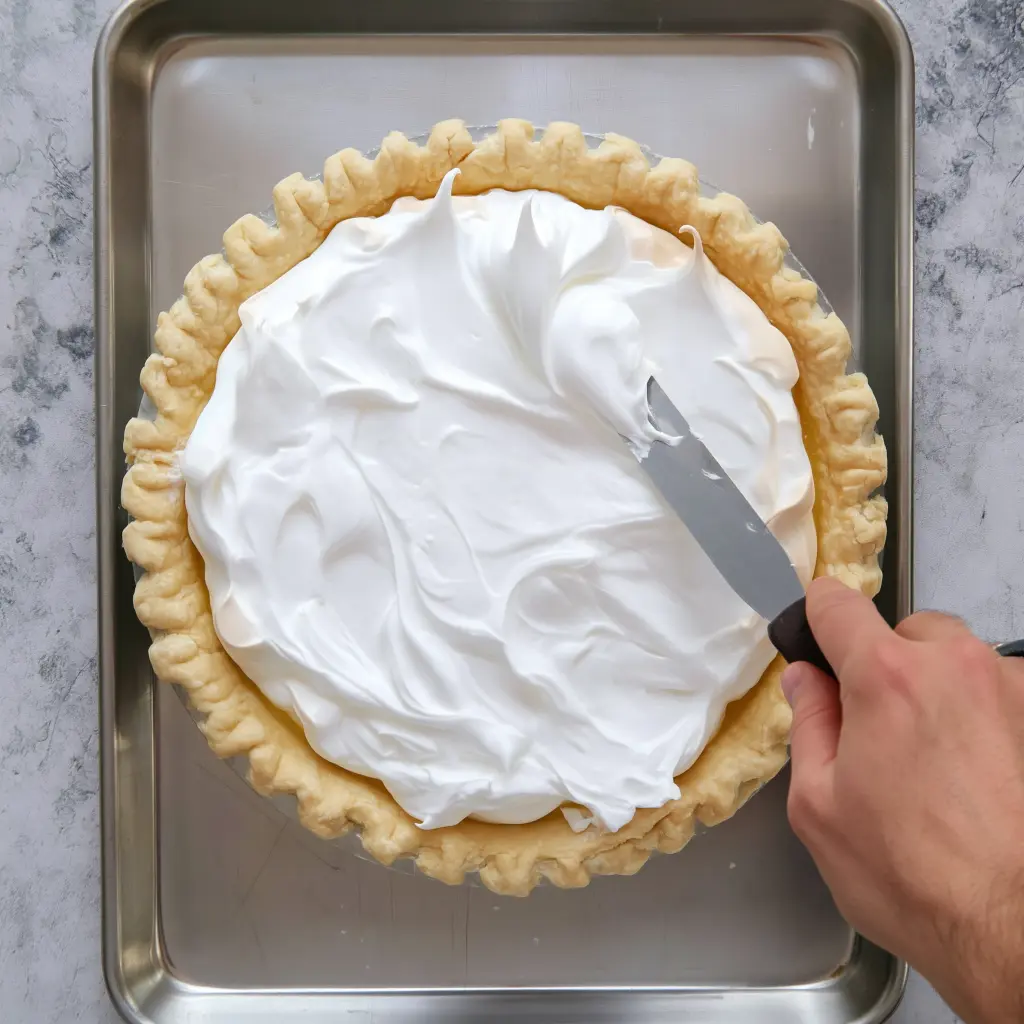
For the topping, beat the egg whites, cream of tartar, and vanilla until soft peaks form. Gradually add the sugar and keep beating until the peaks are stiff and glossy. Spread the meringue over the hot lemon filling in decorative peaks, making sure it touches the crust all the way around.
Bake for about 30 minutes or until browned. Then cool the pie at room temperature for 1 hour and chill it for at least 5 hours before slicing. That final chill is what gives you cleaner slices and a properly set filling.
What tempering eggs means here
Tempering eggs simply means bringing the yolks up to temperature gradually rather than shocking them with a full blast of heat. If you were to pour the hot lemon mixture all at once into the yolks without whisking, the eggs could scramble. By adding some of the hot mixture slowly while whisking, you warm the yolks gently. Then they can go back into the saucepan and finish cooking smoothly as part of the filling.
In a recipe like lemon meringue pie, that step matters because it helps give the filling its silky texture. It is not there to make the recipe feel fancy. It is there because it works.
If you have never tempered eggs before, this is the kind of recipe that teaches it well. Just keep the whisk moving and add the hot mixture in a steady stream rather than a rush.
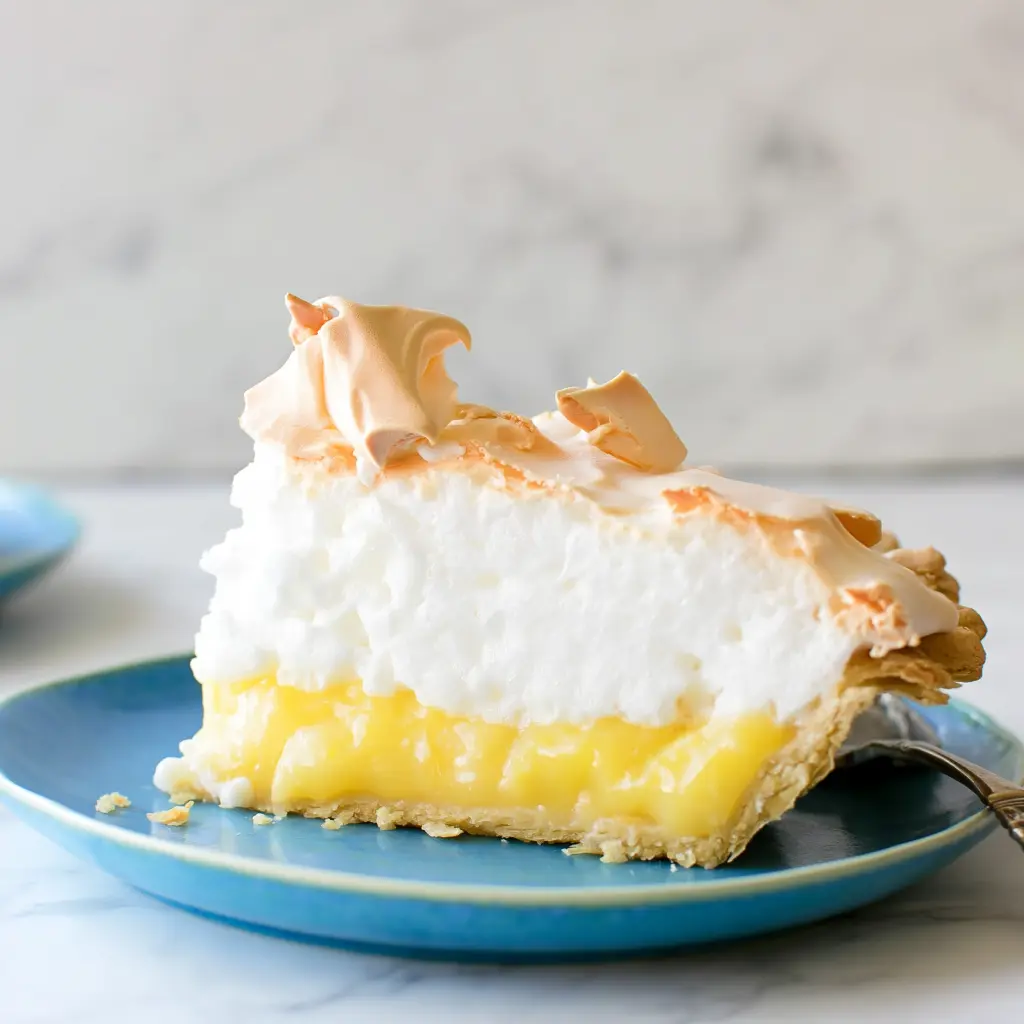
Serving and slicing
This pie is at its best when it has had enough chill time. The recipe calls for at least 5 hours in the fridge, and that is worth following because the filling needs time to settle. Once fully chilled, the pie slices more neatly and the layers are easier to appreciate.
A sharp knife and a gentle hand help when cutting through the meringue. Wiping the knife between slices can also keep the cuts cleaner if you are serving the pie to guests.
Because the flavours are bright and sweet rather than heavy, lemon meringue pie often feels welcome after richer meals. It is the kind of dessert that wakes up the table.
Storing lemon meringue pie
This pie needs chilled storage after it has cooled. Keeping it in the fridge helps the filling stay set and makes the slices easier to serve. Since the recipe already asks for a long chill before serving, it is naturally a dessert you can make ahead earlier in the day.
The meringue is at its prettiest on the day the pie is made, but the pie itself is still very much worth saving for later servings if there are leftovers.
Helpful pie questions
Why do I need to blind bake the crust?
Blind baking gives the crust a head start so it can hold the filling properly and avoid turning too soft under the lemon layer.
Can I use a pre-made crust?
Yes. The recipe clearly allows for that, which makes this pie more doable when time is tight.
Why keep the filling hot before adding the meringue?
Hot filling helps the meringue bake onto the pie more neatly and supports the finished structure.
Why should the meringue touch the crust all around?
That step helps anchor the topping and is a classic trick for a better finished pie.
Why does the pie need such a long chill?
The filling needs time to set. Without that rest, the slices may not hold as neatly.

- 15-Minute Chicken Caesar Wrap - May 11, 2026
- Nutella Stuffed Cookies - May 10, 2026
- Honey Glazed Salmon That Makes Dinner Feel Easy - April 28, 2026