Skip to content


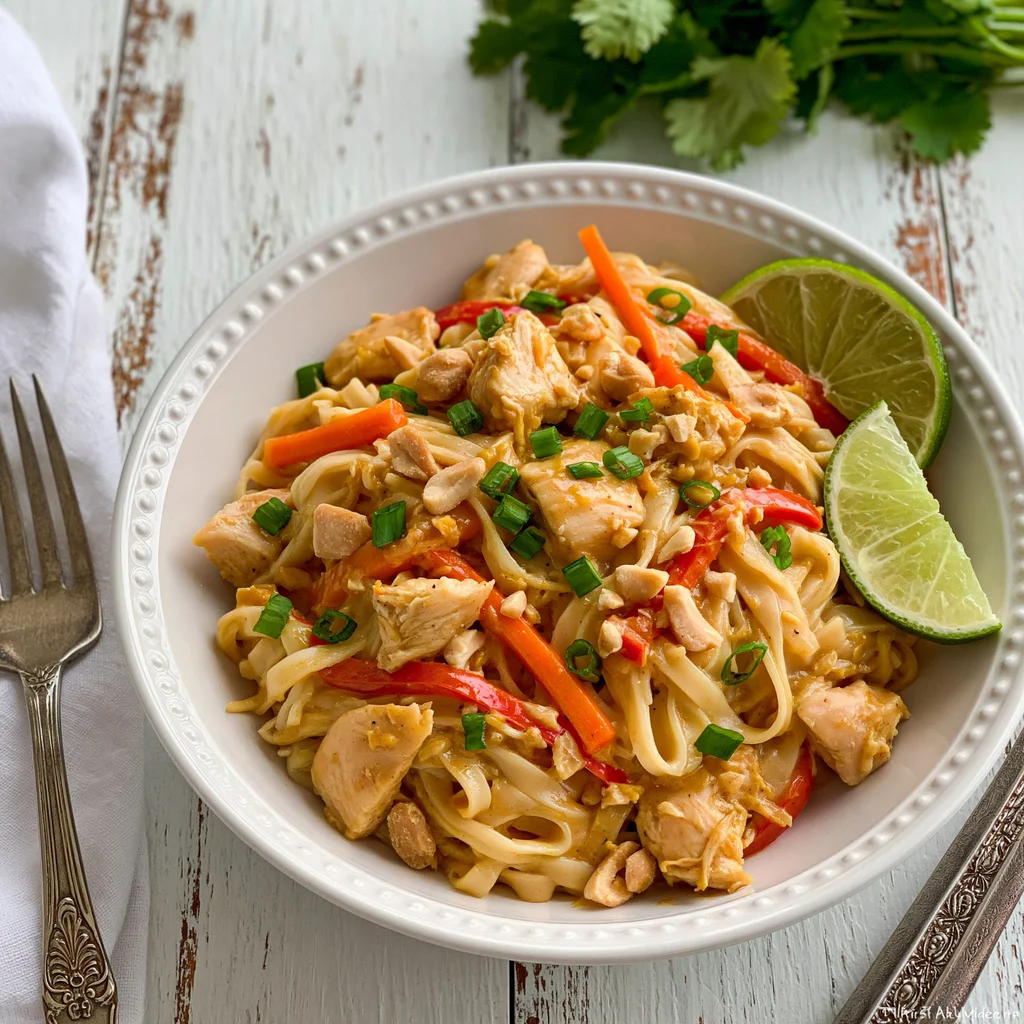
Thai Peanut Chicken & Noodles is a weeknight dinner built around tender strips of chicken, brown rice noodles, crisp-tender vegetables, and a creamy peanut sauce with lime, ginger, garlic, and a little heat if you want it. The sauce should taste savory first, then lightly sweet, with enough acidity to keep the peanut butter from feeling heavy.
The small baking soda rest gives the chicken a softer texture before it hits the hot pan. From there, the recipe moves quickly: cook the chicken in batches, keep the vegetables snappy, then toss everything with the sauce until it clings to the noodles instead of pooling at the bottom of the pan.
Ingredients
- 24 oz. raw boneless skinless chicken breast, cut into thin strips
- 3/4 tsp. baking soda
- 1 tbsp. coconut aminos, or gluten free soy sauce or tamari
- 1 tbsp. avocado oil, divided
- 1 cup red pepper, sliced
- 1 cup carrots, shredded
- 1 cup mushrooms, sliced
- 3 stalks green onion, sliced
- 1/4 cup dry-roasted peanuts, chopped
- 6 oz. dry brown rice noodles
- For the Thai peanut sauce
- 1/3 cup creamy peanut butter
- 1/4 cup water
- 2 tbsp. coconut aminos, or gluten free soy sauce or tamari
- 1 1/2 tbsp. honey
- 1 tbsp. lime juice
- 1 tbsp. natural rice vinegar
- 1 to 2 tsp. sriracha sauce, optional
- 1 tsp. fresh ginger, grated or minced
- 1 tsp. fresh garlic, minced
Use creamy peanut butter that stirs smooth, not dry or crumbly. Coconut aminos make the sauce slightly sweeter and less salty than tamari or gluten free soy sauce, so taste the finished noodles before serving and adjust with a small splash of lime juice or a pinch of salt if needed. For ingredient reference, USDA FoodData Central keeps a peanut database that can help when checking labels or comparing products.
Why the chicken gets a short baking soda rest
The 10-minute rest with baking soda and coconut aminos changes the surface texture of the chicken just enough to help it cook tender in a hot skillet. Thin strips of chicken breast can turn dry fast, especially in a stir-fry where the heat is high. This short rest gives the chicken a softer bite while the coconut aminos start the seasoning at the surface.
Do not stretch this step much longer than written. Ten minutes is enough for thin strips. After resting, rinsing is optional in the original recipe, but I like a quick rinse followed by a good pat dry if the chicken feels slick. Dry chicken browns better, and browning gives the finished bowl a deeper savory base.
What to taste for in the peanut sauce
The sauce should be creamy and pourable before it goes into the pan. Peanut butter gives body, coconut aminos bring salt and depth, honey softens the edges, and lime juice plus rice vinegar keeps the finish bright. Ginger and garlic should be present but not harsh.
If the sauce tastes heavy before it meets the noodles, add a few drops of lime juice. If it tastes sharp, add a small spoonful of peanut butter or a few drops of honey. If it tastes flat after the noodles are tossed, the salt is probably too quiet; a splash of coconut aminos or tamari will pull the flavors forward. The same acid-first thinking helps in lemon pasta, where the finish depends on keeping the sauce bright rather than heavy.
Keeping the vegetables crisp-tender
Stir-fry vegetables need heat and room. Slice everything before the pan goes on the stove, because once the chicken starts cooking there is not much pause built into the recipe. Red pepper should stay glossy with a little snap, carrots should soften without disappearing, and mushrooms should lose their raw edge while still holding shape.
A wok works well, but a wide skillet is fine. The important part is not crowding the chicken, which is why it cooks in two batches. When the vegetables go in, keep them moving just enough to catch heat on all sides. If the pan looks watery, let the vegetables sit for a few seconds between stirs so the moisture can cook off. That prep-first approach also matters in easy chicken stir fry and vegetable-forward pasta like pasta primavera.
Substitutions that keep the sauce balanced
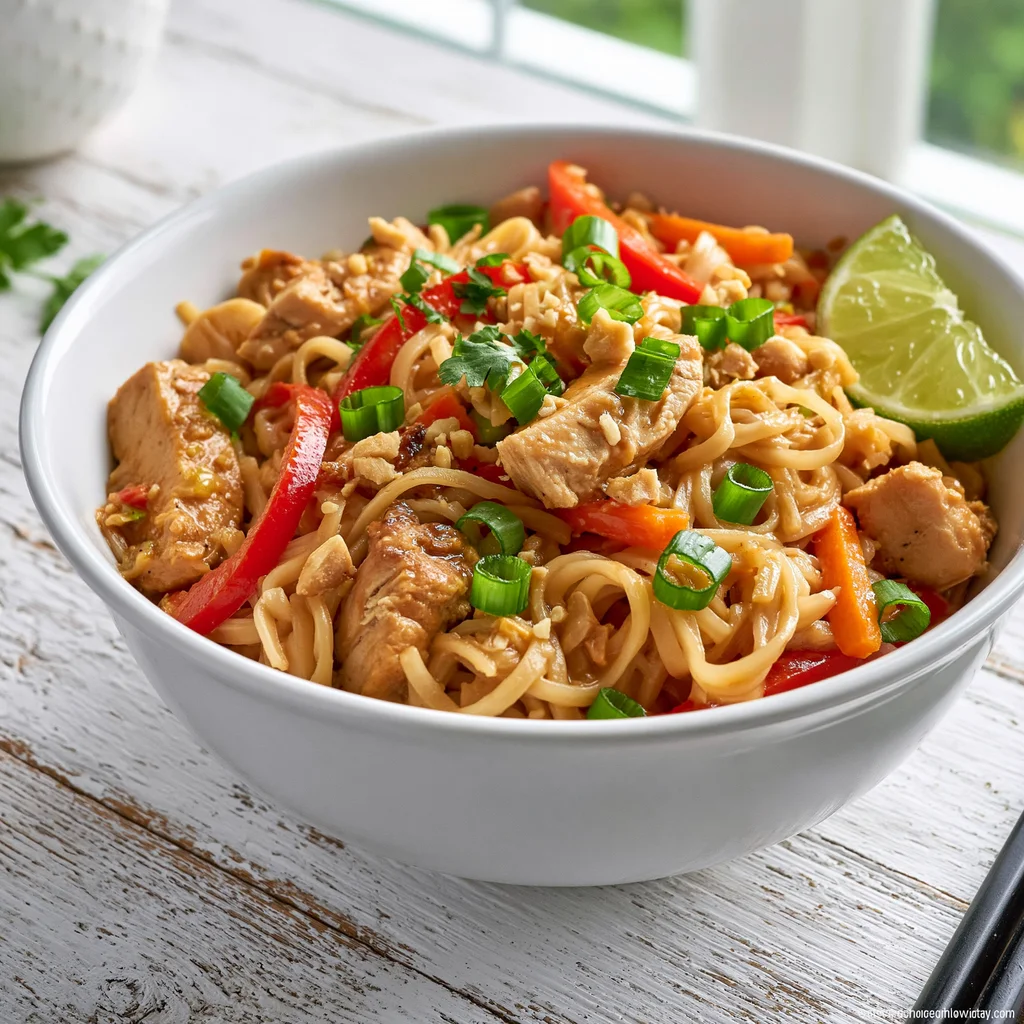
Tamari or gluten free soy sauce can replace coconut aminos. Since both tend to taste saltier, start with the amount listed and taste before adding more. For a less sweet sauce, reduce the honey slightly, but do not remove it completely unless your peanut butter is already sweetened.
For a paleo-style version, use a compatible noodle option and check that the peanut butter swap fits your needs. Almond butter can work, though it tastes less rounded and may need a little more lime juice and salt at the end. Other quick-cooking vegetables can be added, but keep the total amount close so the sauce still coats the noodles. Because this recipe uses peanuts, check labels if cooking for anyone with allergies; the FDA lists peanuts among major food allergens.
How to make Thai Peanut Chicken & Noodles
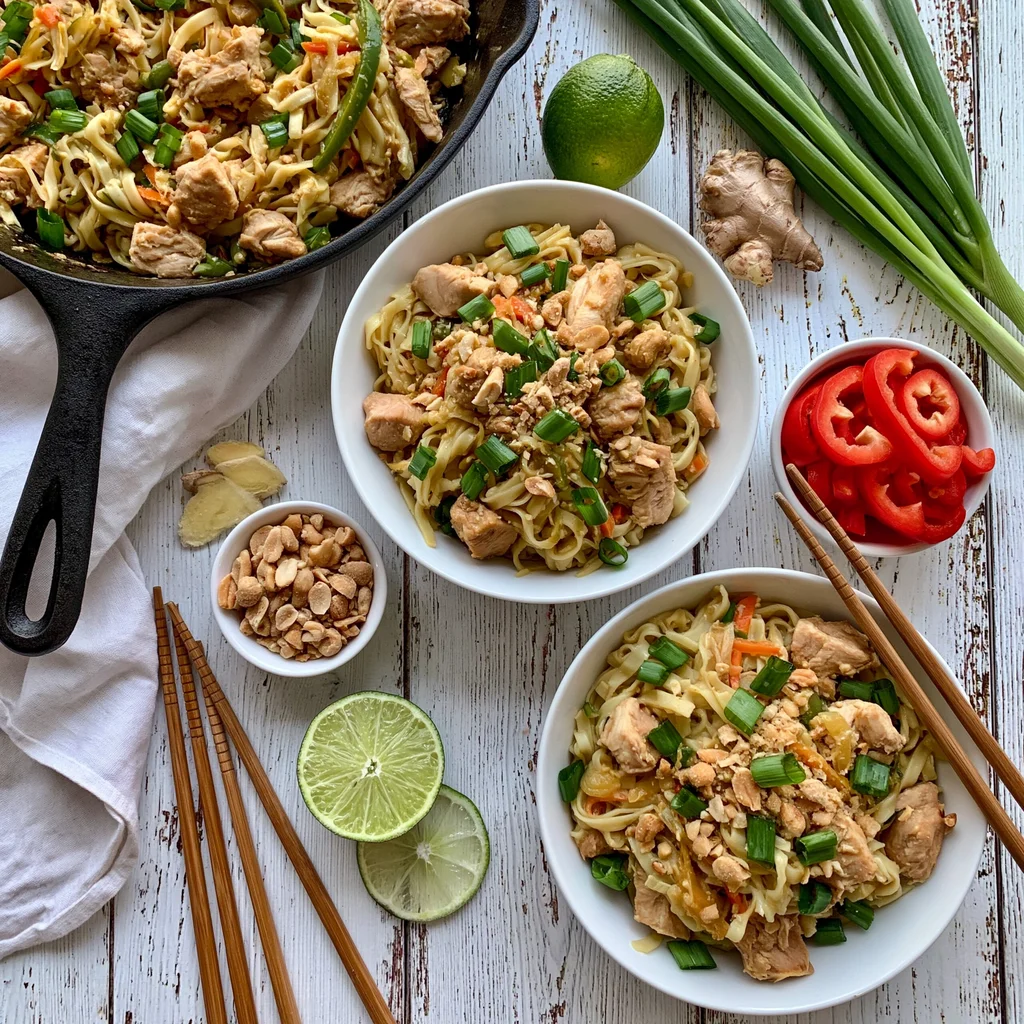
Have the sauce mixed and the vegetables cut before the skillet gets hot. This keeps the chicken from sitting too long and helps the noodles land in the pan while they are still loose and easy to toss.
- Combine the chicken with the baking soda and 1 tbsp. coconut aminos, then let it sit for 10 minutes until the surface looks slightly glossy and seasoned.
- Wash and cut the red pepper, carrots, mushrooms, and green onion, keeping them ready so the pan stays hot once cooking begins.
- Combine the peanut sauce ingredients in a mixing bowl or blender until the sauce looks smooth, creamy, and loose enough to coat a spoon.
- Rinse the chicken if desired, then pat it dry until the pieces no longer feel slippery on the surface.
- Heat 1 tsp. avocado oil in a wok or wide skillet over medium-high heat until it shimmers, then add half the chicken and cook for 4 to 5 minutes until the edges brown and the strips feel springy.
- Transfer the first batch to a plate, then cook the second half of the chicken until the pieces are browned in spots and no longer look raw at the center.
- Cook the brown rice noodles according to the package directions until they are tender with a slight chew, then drain them before they clump.
- Add the remaining oil and the vegetables to the wok or skillet, then stir-fry for 3 to 4 minutes until the peppers look glossy, the mushrooms soften, and the carrots stay crisp-tender.
- Add the cooked noodles, cooked chicken, and peanut sauce to the pan, then toss until the sauce coats the noodles and no dry patches remain.
- Simmer for 1 to 2 minutes over medium heat until the sauce clings to the noodles and smells nutty, adding a spoonful of water if it tightens too much.
- Top with chopped peanuts and more green onion if desired, then serve hot while the vegetables still have a little snap.
Tester’s note: If the noodles taste rich but a little quiet after tossing, I add lime juice first, then salt only if needed. The acid wakes up the peanut sauce without making the whole pan taste heavier.
Storage
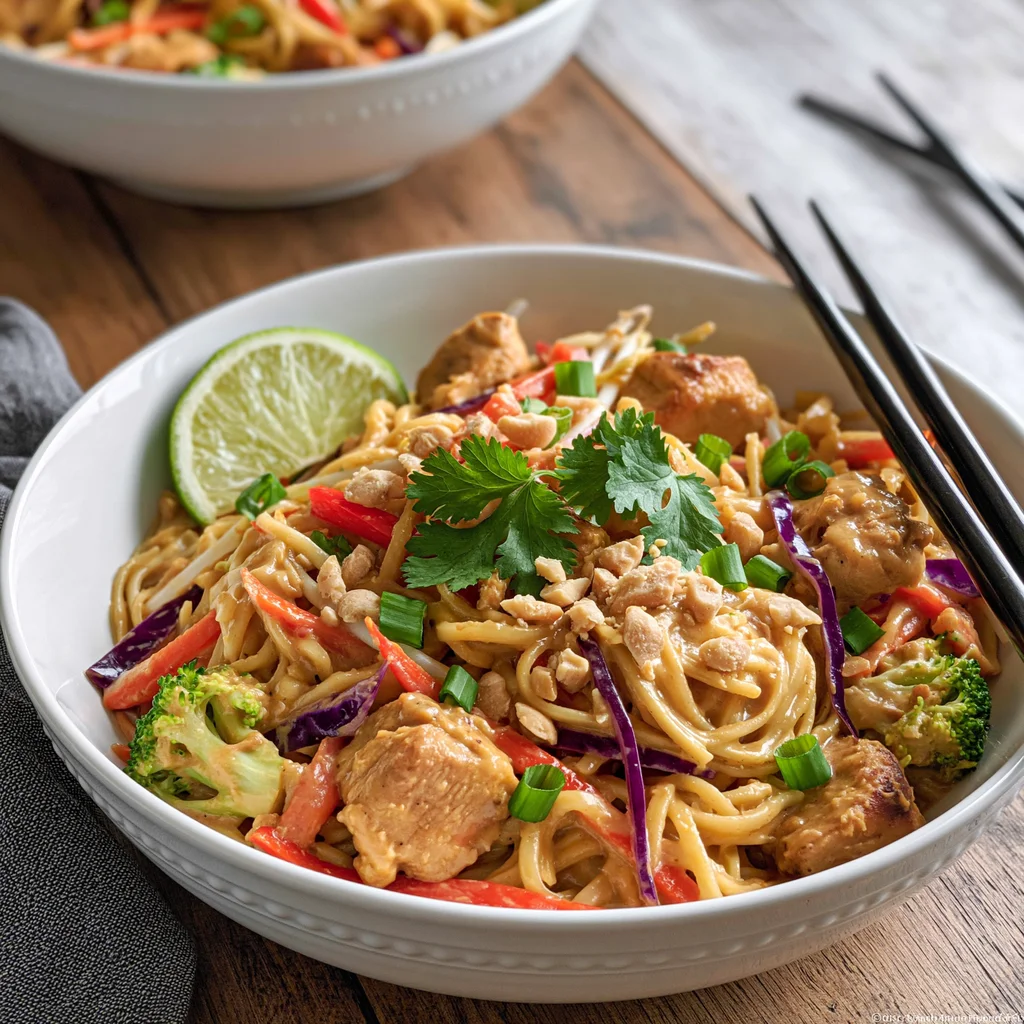
Store leftovers in an airtight container in the refrigerator for up to one week. The noodles will keep absorbing sauce as they sit, so they may look thicker after chilling. Reheat gently in a skillet or microwave with a small splash of water to loosen the peanut sauce until it coats the noodles again. For food-safety planning, compare your storage plan with the FoodSafety.gov cold food storage chart.
For meal prep, divide the noodles into six containers while they are still warm but not steaming heavily. Add the chopped peanuts right before eating if you want them to stay crunchy. If you like a chilled lunch option with chicken and pasta, chicken ranch pasta salad follows a different texture path but works with the same make-ahead mindset.
Frequently asked questions
Can I use tamari instead of coconut aminos?
Yes. Tamari gives a saltier, deeper flavor than coconut aminos. Use the same amount, then taste at the end before adding more salt or sauce.
Can I make Thai Peanut Chicken & Noodles less spicy?
Yes. Leave out the sriracha or start with 1 tsp. The ginger and garlic will still give the sauce enough warmth without adding much heat.
Why did my peanut sauce get too thick?
Peanut sauce tightens when it heats and when noodles absorb liquid. Add water 1 tbsp. at a time and toss until the sauce looks glossy again.
Can I use different vegetables?
Yes. Use quick-cooking vegetables and keep the total amount close to the recipe. Too many vegetables can water down the sauce and make the noodles harder to coat.
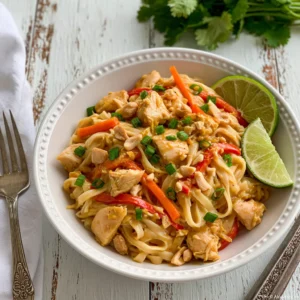
Thai Peanut Chicken & Noodles
Equipment
- Wok or wide skillet
- Mixing bowl or blender
Ingredients
- 24 oz. raw boneless skinless chicken breast, cut into thin strips
- 3/4 tsp. baking soda
- 1 tbsp. coconut aminos, or gluten free soy sauce or tamari
- 1 tbsp. avocado oil, divided
- 1 cup red pepper, sliced
- 1 cup carrots, shredded
- 1 cup mushrooms, sliced
- 3 stalks green onion, sliced
- 1/4 cup dry-roasted peanuts, chopped
- 6 oz. dry brown rice noodles
- 1/3 cup creamy peanut butter
- 1/4 cup water
- 2 tbsp. coconut aminos, or gluten free soy sauce or tamari
- 1 1/2 tbsp. honey
- 1 tbsp. lime juice
- 1 tbsp. natural rice vinegar
- 1 to 2 tsp. sriracha sauce optional
- 1 tsp. fresh ginger, grated or minced
- 1 tsp. fresh garlic, minced
Instructions
- Combine chicken with baking soda and coconut aminos and let sit for 10 minutes.
- Wash and cut vegetables and set aside.
- Combine sauce ingredients in a mixing bowl or blender until smooth.
- Rinse chicken to remove excess baking soda if desired, then pat dry.
- Heat one teaspoon of oil in a wok or skillet over medium-high heat, adding half the chicken once the oil is almost smoking. Cook chicken 4 to 5 minutes, stirring twice for even browning, then set aside on a plate.
- Repeat with the second half of the chicken.
- Cook rice noodles according to package directions.
- Add remaining teaspoon of oil and vegetables to the wok or skillet.
- Stir-fry over medium-high heat for 3 to 4 minutes, until vegetables are crisp-tender.
- Add cooked noodles, cooked chicken, and sauce to the pan with vegetables and stir to combine.
- Simmer for 1 to 2 minutes over medium heat. Top with chopped peanuts and more green onion if desired.
- Serve hot or divide evenly into six meal prep containers.
Notes

- 15-Minute Chicken Caesar Wrap - May 11, 2026
- Nutella Stuffed Cookies - May 10, 2026
- Honey Glazed Salmon That Makes Dinner Feel Easy - April 28, 2026